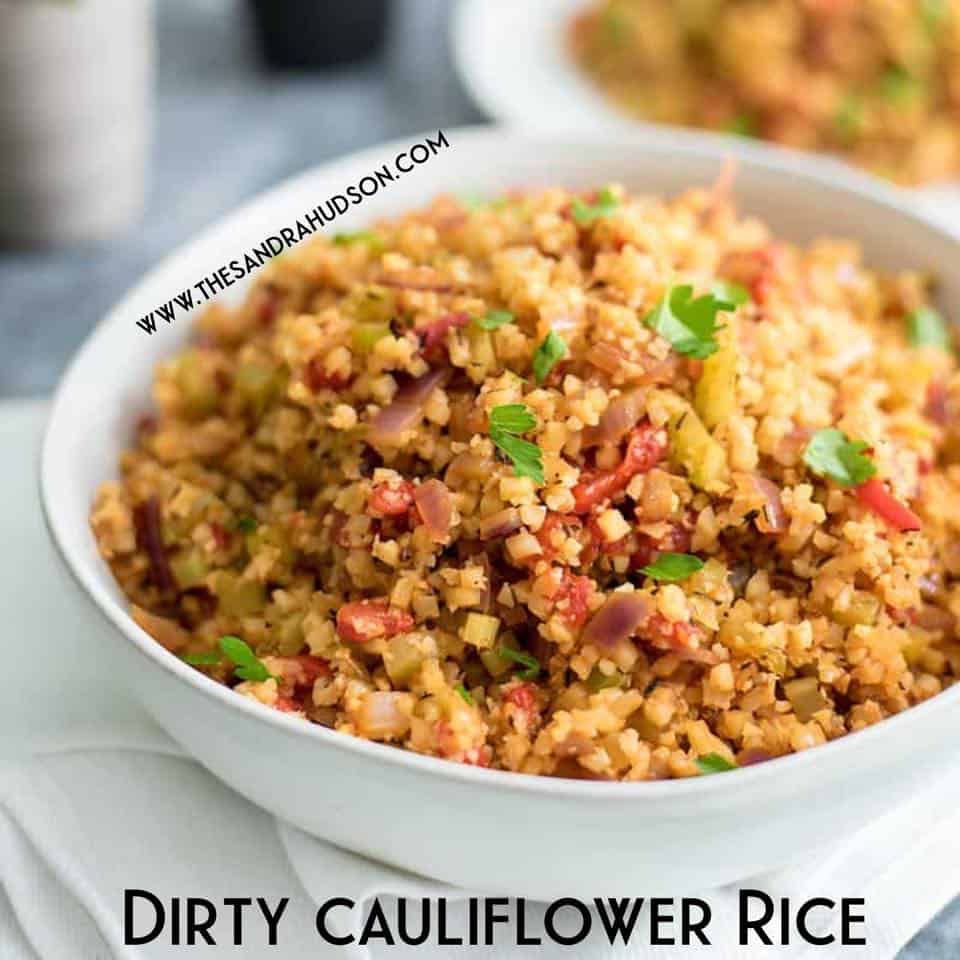
Dirty Cauliflower Rice
James and I have been trying to eat healthier in our house. We are in the process of completing a Whole 30, so we needed something that was low carb, grain-free and delicious. So, I came up with this dirty cauliflower rice recipe this week and it was delicious!!! I will definitely be making this one again.
Other Info.

Also, if you can’t find Tony Chachere’s seasoning at your local store, you can order it here.
If you are looking for a low carb, whole30 version of this Creole food classic, try this. I can’t wait to hear what you think. Drop some comments below and share your thoughts.
If you’re looking for additional healthy recipes to incorporate veggies into your rotation, check out this one.
Dirty Cauliflower Rice

This Dirty Cauliflower Rice recipe is a healthy spin on the classic Creole dish called Dirty Rice. It is simple, quick, easy and full of flavor! This low carb, one-pan wonder can be on the table in less than 30 minutes!
- 3 tbsp coconut oil
- 1 lb. ground turkey or beef
- 1 bag frozen peppers and onions
- 3 cloves garlic minced
- 1 tsp paprika
- 1/2 tsp cayenne pepper
- 1 tsp garlic powder
- 1 tbsp Tony Chachere's Creole Seasoning
- 1/4 cup water
- 12 Oz. frozen cauliflower rice
-
Preheat a heavy-bottomed or cast-iron skillet over medium-high heat. Add the oil and the ground meat and season with 1 tsp. salt, ¼ tsp. pepper and ½ tsp. garlic powder. Brown ground meat, breaking it apart with a spoon or spatula until it begins to caramelize. If it sticks to the bottom of the pan, that’s ok.
-
After the meat begins to caramelize, reduce the heat to medium and add the onion and peppers and continue to cook for about 5 -7minutes or until the veggies are tender and the onions are translucent. Add the garlic and the other seasonings and cook for another minute.
-
Add the frozen cauliflower rice, water and season with salt and garlic powder. Stir to combine and use the liquid to loosen the bits stuck to the bottom of the pan. This will give the cauliflower rice its “dirty” color! Continue to cook, stirring often, until the cauliflower rice is tender and there is no liquid left in the pan. Taste and adjust seasoning as desired. Garnish with sliced onion and chopped parsley and serve!
-
salt & pepper to taste
Frozen cauliflower rice works best in this dish because it still cooks and holds up to the heat without getting squishy.


 The holidays and fattening food go hand-in-hand. Thanksgiving and the leftovers can last a week. Then it’s only a few more weeks until Christmas. New Year’s is the following week……Ugh!! Let’s not even talk about all the sweets, bread, and baked goods. Studies show that 75% of a person’s annual weight gain happens between Thanksgiving and the end of the year. Make this the year that you avoid holiday weight gain.